| Volga | |
 | |
| Race: | |
| Title(s): | Dragon Knight
|
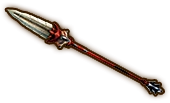
| Weapon(s): | Dragon spear
|
| Craft(s): | Transformation magic
|
| Weakness: | Water
|
| Useful Weapon Skill: | VS Dragon
|
| Voice Actors: | Yoshihisa Kawahara
|
| First Appearance: | Hyrule Warriors |
| Playable via update. | |
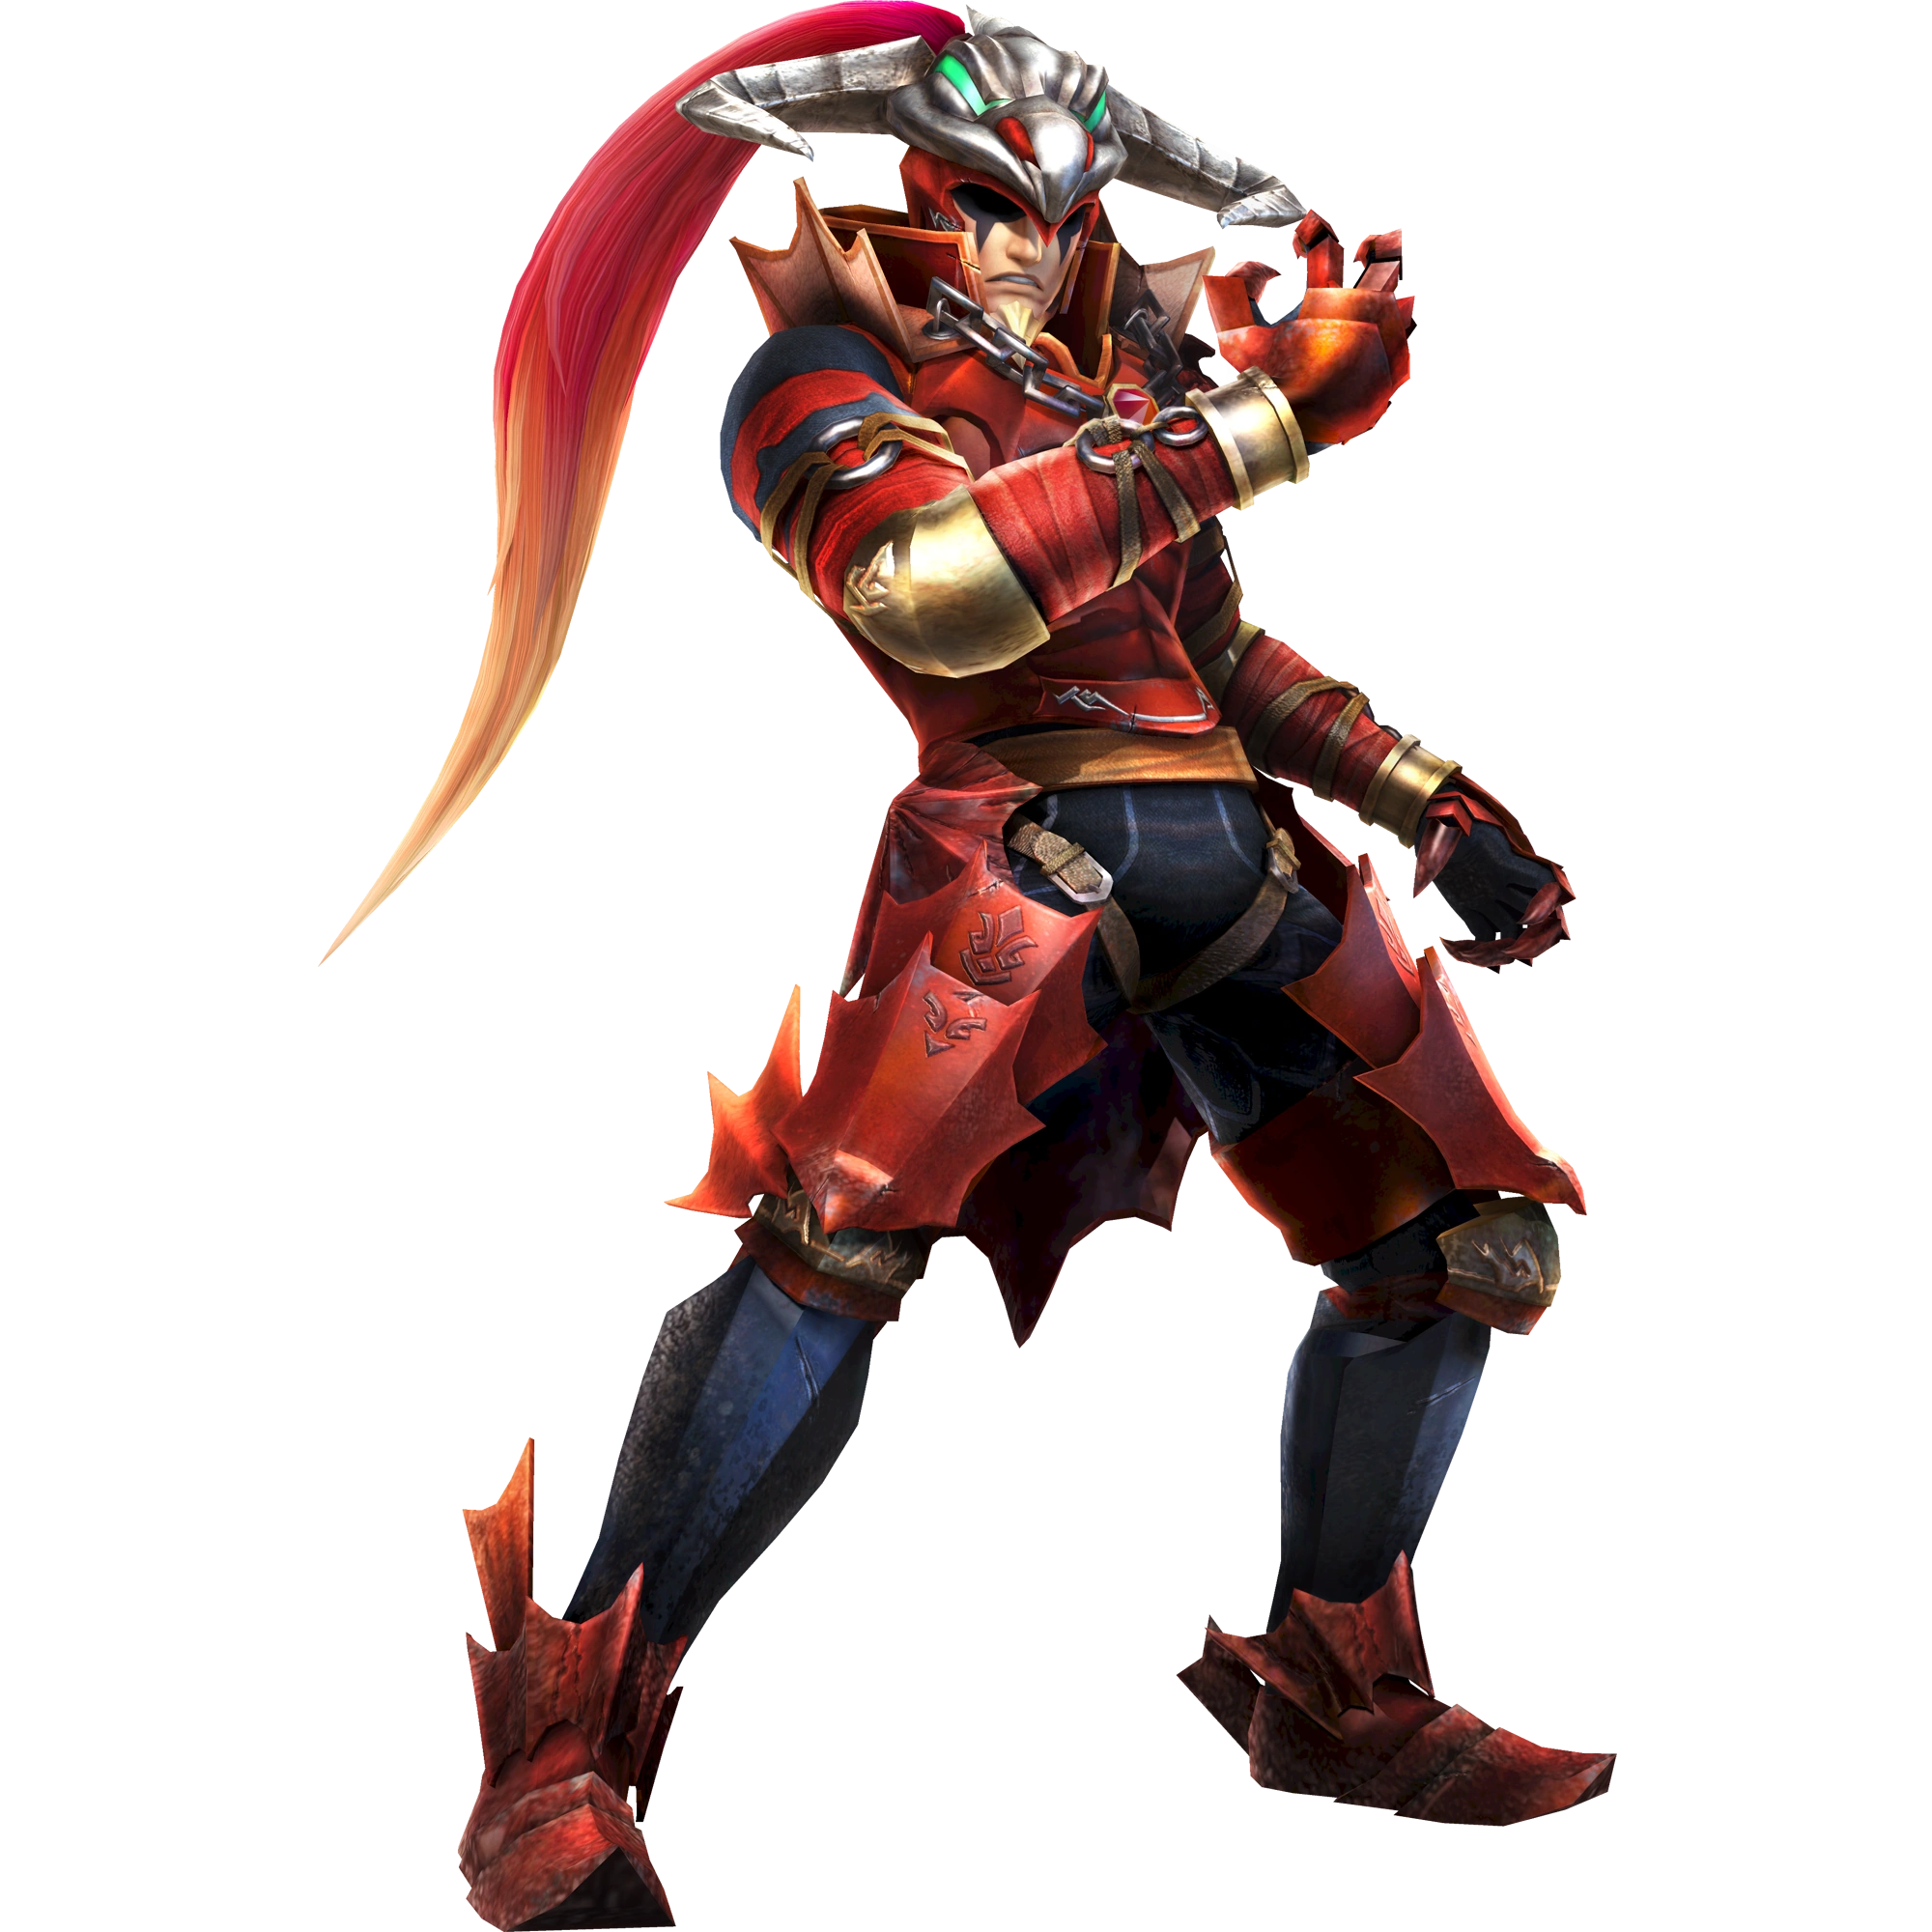
Volga (ヴァルガ, Varuga) is a secondary antagonist in Hyrule Warriors and one of three characters who were patched to be playable through a later update. He is an original character created by Omega Force and Team NINJA who draws inspiration from Volvagia in Ocarina of Time.
Role in Game[]
Volga is the Dragon Guardian of the Eldin Caves, his duty to protect it from outside forces while ruling his monster followers and allowing the Gorons to mine there. When Cia first became corrupted by Ganondorf's influence, she entered the Eldin Caves to enlist his help. When he refused to aid her willingly, she corrupted his mind with her dark powers to serve her, acting as one of her main generals alongside the sorcerer Wizzro.
Volga is fought four times in Legend Mode; in Hyrule Field at the beginning of the game, during the first battle at the Valley of Seers, in Skyloft during Link's quest to seal the Gate of Souls, and in the Valley of Seers again during the Hyrulean Army's final battle with Cia's forces.
Character Information[]
Development[]
Volga's design is based on the dragon Volvagia from Ocarina of Time. Designers purposely made him look as inhuman as possible, so that when players encountered him, they would instantly know he was an incarnation of Volvagia.
Personality[]
Confident in his own might, Volga constantly searches for strong opponents while leaving behind a trail of carnage. He would stop at nothing to obtain victory.
Quotes[]
- See also: Volga/Quotes
Gameplay[]
Moveset[]

| Keys: | Y Normal Attack ▲ | X Charge Attack ▲ | A Special Technique ▲ | B Evade |
- X: Volga performs a frontal spin with his spear before stabbing the ground with it. Can also be used while evading attacks. This attack is will always break the opponent's guard.
- Y, X: Volga swings his spear upwards, creating a small flame eruption that launches enemies upwards.
- Y, Y, X: Volga turns his left arm into a dragon's claw and swipes at enemies with it, sending forward 3 slash projectiles. This is quite similar to the Master Sword's version of this combo.
- Y, Y, Y, X: Volga spews a torrent of flame in in a circular sweeping motion in front of him. Can be directed with the control stick to further increase the move's range.
- Y, Y, Y, Y, X: Volga twirls his spear in front of him before turning into his dragon form and flying up into the air. He then divebombs the ground, creating a large fiery shockwave upon landing. This move takes several seconds to land, but can clear out mobs of infantry and put a dent in commanders.
- Y, Y, Y, Y, Y, Y: Volga performs several wide slashes with his spear. A pillar of flame erupts in front of him, trapping enemies in it. He then charges forward through the flame pillar to impale enemies on his spear.
- A: Volga charges forward to impale enemies with his spear, leaving a trail of flames in his wake. This move's range is thin, but devestates those caught in it.
- Focus Spirit + A: Volga tosses his spear into the air, sprouts dragon wings and flies up to grab it before crashing the ground spear-first.
- Focus Spirit Finisher: Volga turns into his dragon form and flies around in a circle to gather nearby enemies together before divebombing them.
- Weak Point Smash: Volga sprouts his dragon wings, flies into the air with a spear swing, then comes down slamming his weapon into the ground.
- Guarding + Back Dodge + X: Powerful thrust attack
- Guarding + Side Dodge + X: Powerful thrust attack
- Guarding + Forward Dodge + X: Jumping spinning slash
Fighting Style[]
Volga's moveset is power-based and loaded with overstated animations. His spear attacks have good range and is versatile for most situations. Players may need time to adjust to his charges and special techniques since they require good aiming to be effective in duels.
Weapons[]
The second and third variations cannot be unlocked without the Master Quest DLC pack.
| Weapon Information (Element: Fire) | ||
|---|---|---|
| Description: An exquisite spear, carved from the bones of a dragon, it channels a fraction of the great beast's might. Use a Strong Attack or a Combo Attack after evading to break the enemy's guard. | ||
| Dragonbone Pike | Skill Slots: 1~2 | |
|
Base Attack: 80 | 1★ Attack: 88 |
| 2★ Attack: 96 | 3★ Attack: 104 | |
| 4★ Attack: 112 | 5★ Attack: 120 | |
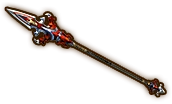
| Stonecleaver Claw | Skill Slots: 3~4 | |
|
Base Attack: 150 | 1★ Attack: 165 |
| 2★ Attack: 180 | 3★ Attack: 195 | |
| 4★ Attack: 210 | 5★ Attack: 225 | |
| Flesh-Render Fang | Skill Slots: 6~8 | |

|
Base Attack: 280 | 1★ Attack: 308 |
| 2★ Attack: 336 | 3★ Attack: 364 | |
| 4★ Attack: 392 | 5★ Attack: 420 | |
| Flesh-Render Fang + (Legends) | Skill Slots: 7~8 | |
|
|
Base Attack: 500 | 1★ Attack: 550 |
| 2★ Attack: 600 | 3★ Attack: 650 | |
| 4★ Attack: 700 | 5★ Attack: 750 | |
| Darkfire Fang (Legends) | Skill Slots: 7~8 | |
|
|
Base Attack: 500 | 1★ Attack: 550 |
| 2★ Attack: 600 | 3★ Attack: 650 | |
| 4★ Attack: 700 | 5★ Attack: 750 | |
| Secondary Element: Darkness | ||
Badge Materials[]
- See also: Hyrule Warriors/Badges
| Badge | Materials | ||
|---|---|---|---|
| Kokiri Sword I | Soldier's Uniform (1x) | ||
| Kokiri Sword II | Dinolfos Fang (1x) | Soldier's Uniform (1x) | |
| Kokiri Sword III | Shield Moblin Helmet (1x) | Soldier's Uniform (1x) | |
| Kokiri Sword IV | Goron Armor Breastplate (1x) | Soldier's Uniform (1x) | |
| Stamina Fruit I | Aeralfos Leather (1x) | ||
| Stamina Fruit II | Zelda's Brooch (1x) | Argorok's Embers (1x) | Aeralfos Leather (3x) |
| Stamina Fruit III | Zelda's Tiara (1x) | Argorok's Embers (2x) | Round Aeralfos Shield (2x) |
| Digging Mitts I | Aeralfos Leather (3x) | ||
| Digging Mitts II | Zelda's Brooch (1x) | Argorok's Embers (1x) | Aeralfos Leather (3x) |
| Digging Mitts III | Zelda's Tiara (1x) | Argorok's Embers (2x) | Round Aeralfos Shield (2x) |
| Din's Fire I | Dinolfos Fang (1x) | Soldier's Uniform (1x) | |
| Din's Fire II | Goron Armor Breastplate (1x) | Soldier's Uniform (1x) | |
| Din's Fire III | Zelda's Tiara (1x) | Argorok's Embers (2x) | Round Aeralfos Shield (2x) |
| Hover Boots I | Aeralfos Leather (2x) | ||
| Hover Boots II | Zelda's Brooch (1x) | Argorok's Embers (1x) | Aeralfos Leather (3x) |
| Hover Boots III | Zelda's Tiara (1x) | Argorok's Embers (2x) | Round Aeralfos Shield (2x) |
| Fierce Deity's Mask I | Goron Armor Breastplate (1x) | Soldier's Uniform (1x) | |
| Fierce Deity's Mask II | Zelda's Tiara (1x) | Argorok's Embers (2x) | Round Aeralfos Shield (2x) |
| Badge | Materials | ||
|---|---|---|---|
| Empty Bottle I | Old Rag (1x) | ||
| Empty Bottle II | Goron Armor Breastplate (1x) | Old Rag (1x) | |
| Empty Bottle III | Argorok's Stone (1x) | Zelda's Brooch (2x) | Round Aeralfos Shield (2x) |
| Hornet Larvae I | Aeralfos Leather (1x) | ||
| Hornet Larvae II | Zelda's Brooch (1x) | Argorok's Embers (1x) | Aeralfos Leather (3x) |
| Hornet Larvae III | Argorok's Stone (1x) | Zelda's Brooch (2x) | Round Aeralfos Shield (2x) |
| Nayru's Love I | Aeralfos Leather (3x) | ||
| Nayru's Love II | Zelda's Brooch (1x) | Argorok's Embers (1x) | Aeralfos Leather (3x) |
| Nayru's Love III | Argorok's Stone (1x) | Zelda's Brooch (2x) | Round Aeralfos Shield (2x) |
| Goron Tunic I | Aeralfos Leather (2x) | ||
| Goron Tunic II | Zelda's Brooch (1x) | Argorok's Embers (1x) | Aeralfos Leather (3x) |
| Goron Tunic III | Argorok's Stone (1x) | Zelda's Brooch (2x) | Round Aeralfos Shield (2x) |
| Zora Tunic I | Aeralfos Leather (2x) | ||
| Zora Tunic II | Zelda's Brooch (1x) | Argorok's Embers (1x) | Aeralfos Leather (3x) |
| Zora Tunic III | Argorok's Stone (1x) | Zelda's Brooch (2x) | Round Aeralfos Shield (2x) |
| Magic Armor I | Aeralfos Leather (2x) | ||
| Magic Armor II | Zelda's Brooch (1x) | Argorok's Embers (1x) | Aeralfos Leather (3x) |
| Magic Armor III | Argorok's Stone (1x) | Zelda's Brooch (2x) | Round Aeralfos Shield (2x) |
| Sacred Shield I | Aeralfos Leather (2x) | ||
| Sacred Shield II | Zelda's Brooch (1x) | Argorok's Embers (1x) | Aeralfos Leather (3x) |
| Sacred Shield III | Argorok's Stone (1x) | Zelda's Brooch (2x) | Round Aeralfos Shield (2x) |
| Mirror Shield I | Aeralfos Leather (2x) | ||
| Mirror Shield II | Zelda's Brooch (1x) | Argorok's Embers (1x) | Aeralfos Leather (3x) |
| Mirror Shield III | Argorok's Stone (1x) | Zelda's Brooch (2x) | Round Aeralfos Shield (2x) |
| Badge | Materials | ||
|---|---|---|---|
| Farore's Wind I | Rock (1x) | ||
| Farore's Wind II | Zelda's Brooch (1x) | Argorok's Embers (1x) | Aeralfos Leather (3x) |
| Farore's Wind III | Zelda's Tiara (1x) | Zelda's Brooch (2x) | Round Aeralfos Shield (2x) |
| Goron's Bracelet I | Aeralfos Leather (2x) | ||
| Goron's Bracelet II | Zelda's Tiara (1x) | Zelda's Brooch (2x) | Round Aeralfos Shield (2x) |
| Hawkeye I | Aeralfos Leather (2x) | ||
| Hawkeye II | Zelda's Tiara (1x) | Zelda's Brooch (2x) | Round Aeralfos Shield (2x) |
| Beetle I | Aeralfos Leather (2x) | ||
| Beetle II | Zelda's Tiara (1x) | Zelda's Brooch (2x) | Round Aeralfos Shield (2x) |
| Whip I | Aeralfos Leather (2x) | ||
| Whip II | Zelda's Tiara (1x) | Zelda's Brooch (2x) | Round Aeralfos Shield (2x) |
Gallery[]
.png "Volga Concept (HW).png (300 KB)")
.png "Volga Concept Art (HW).png (669 KB)")
.png "Volga Dragon Form Concept (HW).png (423 KB)")
.png "Volga Dragon Concept Art (HW).png (229 KB)")
")
")
")
.png "Volga Alternate Costume (HWL).png (28 KB)")
.png "Volga Alternate Costume 2 (HWL).png (28 KB)")
.png "Volga Alternate Costume 3 (HWL DLC).png (26 KB)")
External Links[]
| This Hyrule Warriors related article is a stub. You can help the wiki by expanding it. |
| Hyrule Warriors • Legends • Definitive Edition • Hyrule Warriors: Age of Calamity |
| Characters |
| Hyrule Warriors |
| Link • Impa • Sheik • Lana • Princess Zelda • Ganondorf • Darunia • Princess Ruto • Agitha • Midna • Zant • Fi • Ghirahim • Cia • Volga • Wizzro • Twili Midna • Young Link • Tingle • Ganon • Cucco |
| Hyrule Warriors Legends |
| Linkle • Skull Kid • Toon Link • Tetra • King Daphnes • Medli • Marin • Toon Zelda • Ravio • Yuga |
| Hyrule Warriors Age of Calamity |
| Urbosa • Mipha • Daruk • Revali • Hestu • Sidon • Yunobo • Teba • Riju • Maz Koshia • Master Kohga • King Rhoam • Great Fairies • Terrako |
| EX: Pulse of the Ancients |
| Battle-Tested Guardian |
| EX: Guardian of Remembrance |
| Sooga • Purah & Robbie |
| Bosses |
| King Dodongo • Gohma • Manhandla • Argorok • The Imprisoned • Ganon • Great Fairy Helmaroc King • Phantom Ganon • Astor |
| Locations |
| Hyrule Warriors |
| Hyrule Field • Eldin Caves • Faron Woods • Valley of Seers • Death Mountain • Lake Hylia • Twilight Field • Palace of Twilight • Skyloft • Sealed Grounds • Temple of the Sacred Sword • Temple of Souls • Gerudo Desert • Ganon's Tower |
| Hyrule Warriors Legends |
| Forsaken Fortress • Wind and Earth Temples |
| Hyrule Warriors Age of Calamity |
| Breach of Demise • Zora's Domain • Tabantha Frontier • Gerudo Town • Hyrule Outpost • Great Hyrule Forest • Cenel Peak • Akkala Citadel • Yiga Clan Hideout • Damel Forest • Hyrule Castle • Lanayru Wetlands • Hyrule Ridge • Fort Hateno • Great Plateau • Hyrule Castle Town |
| EX: Guardian of Remembrance |
| Goponga Village • Kakariko Village • Lanayru Road • Mount Daphnes |
| Features |
| Items • Adventure Mode • Unit Types • Potion Mixtures • Badges • Materials • Weapon Skills • My Fairy |